My First Full Stack App
What I built, why I chose the stack I did, where I lost time, and what I would do differently next time.
Published on September 9, 2025
I recently had to build a small full stack app under time pressure.
It was one of those projects where the assignment sounds simple enough at first, then starts branching out the moment you actually touch it. Backend, database, external API, frontend, deployment, git history, the whole thing. None of it was individually too wild, but putting all of it together in a short time window was enough to make the project interesting.
Now that I have had a bit of distance from it, I wanted to go back over what I built, why I made certain choices, and where I would make different decisions if I had more time.
Requirements
The assignment was pretty clear:
- It needed a backend, a database, an external API, a frontend, and a visible commit history.
- The backend needed a server with two endpoints: a GET that returned all stored items and a POST that added a new one.
- The database had to be NoSQL.
- The data model needed at least three fields.
- The frontend needed a list of database items, an input to add new ones, and a separate component showing data from the external API.
- The design could stay simple.
- The whole project had to live in git with clear progressive commits.
That is a fair amount of ground to cover for a small project, which is also why I liked it.
Stack choice
I ended up using the MERN stack: MongoDB, Express, React, and Node.
React, Express, and Node were already familiar to me. MongoDB was not. In fact, I had not worked with a NoSQL database before this project, so part of the appeal was simply that it gave me a reason to stop postponing it.
The main alternative I considered was Firebase Firestore. In the end I went with MongoDB because it seemed easier to reason about for this assignment, and because I wanted to try the full MERN combination properly at least once.
Backend
I started with the backend.
That felt like the right place to begin because once the data model and endpoints exist, the rest of the app has something real to connect to.
I set up a basic Express server and added a healthcheck first, mostly because I like having an early sign that the app is alive before I start piling more things on top of it.
For the database, I used MongoDB Atlas together with Mongoose.
Atlas made the setup much easier than I expected. I could connect through a URI, keep the credentials in an .env, and not have to think too much about running the database locally as part of the same project. Mongoose helped for the same reason: validation lived in one place instead of getting scattered across the route handlers.
That mattered because the project had a time limit, and one of the easiest ways to lose time is to make the same decision five times in five different files.
Once the connection was working, I added the required GET and POST endpoints. If this had been a project without a deadline, I probably would have built the full CRUD set just because it would have made the app feel more complete. But in this case I tried to stay disciplined and do what the assignment actually asked for.
After that, I paused to document the server and the basic setup in the README. I am glad I did, because once the frontend starts moving, it gets easier to tell yourself you will document it later and then never really do it properly.
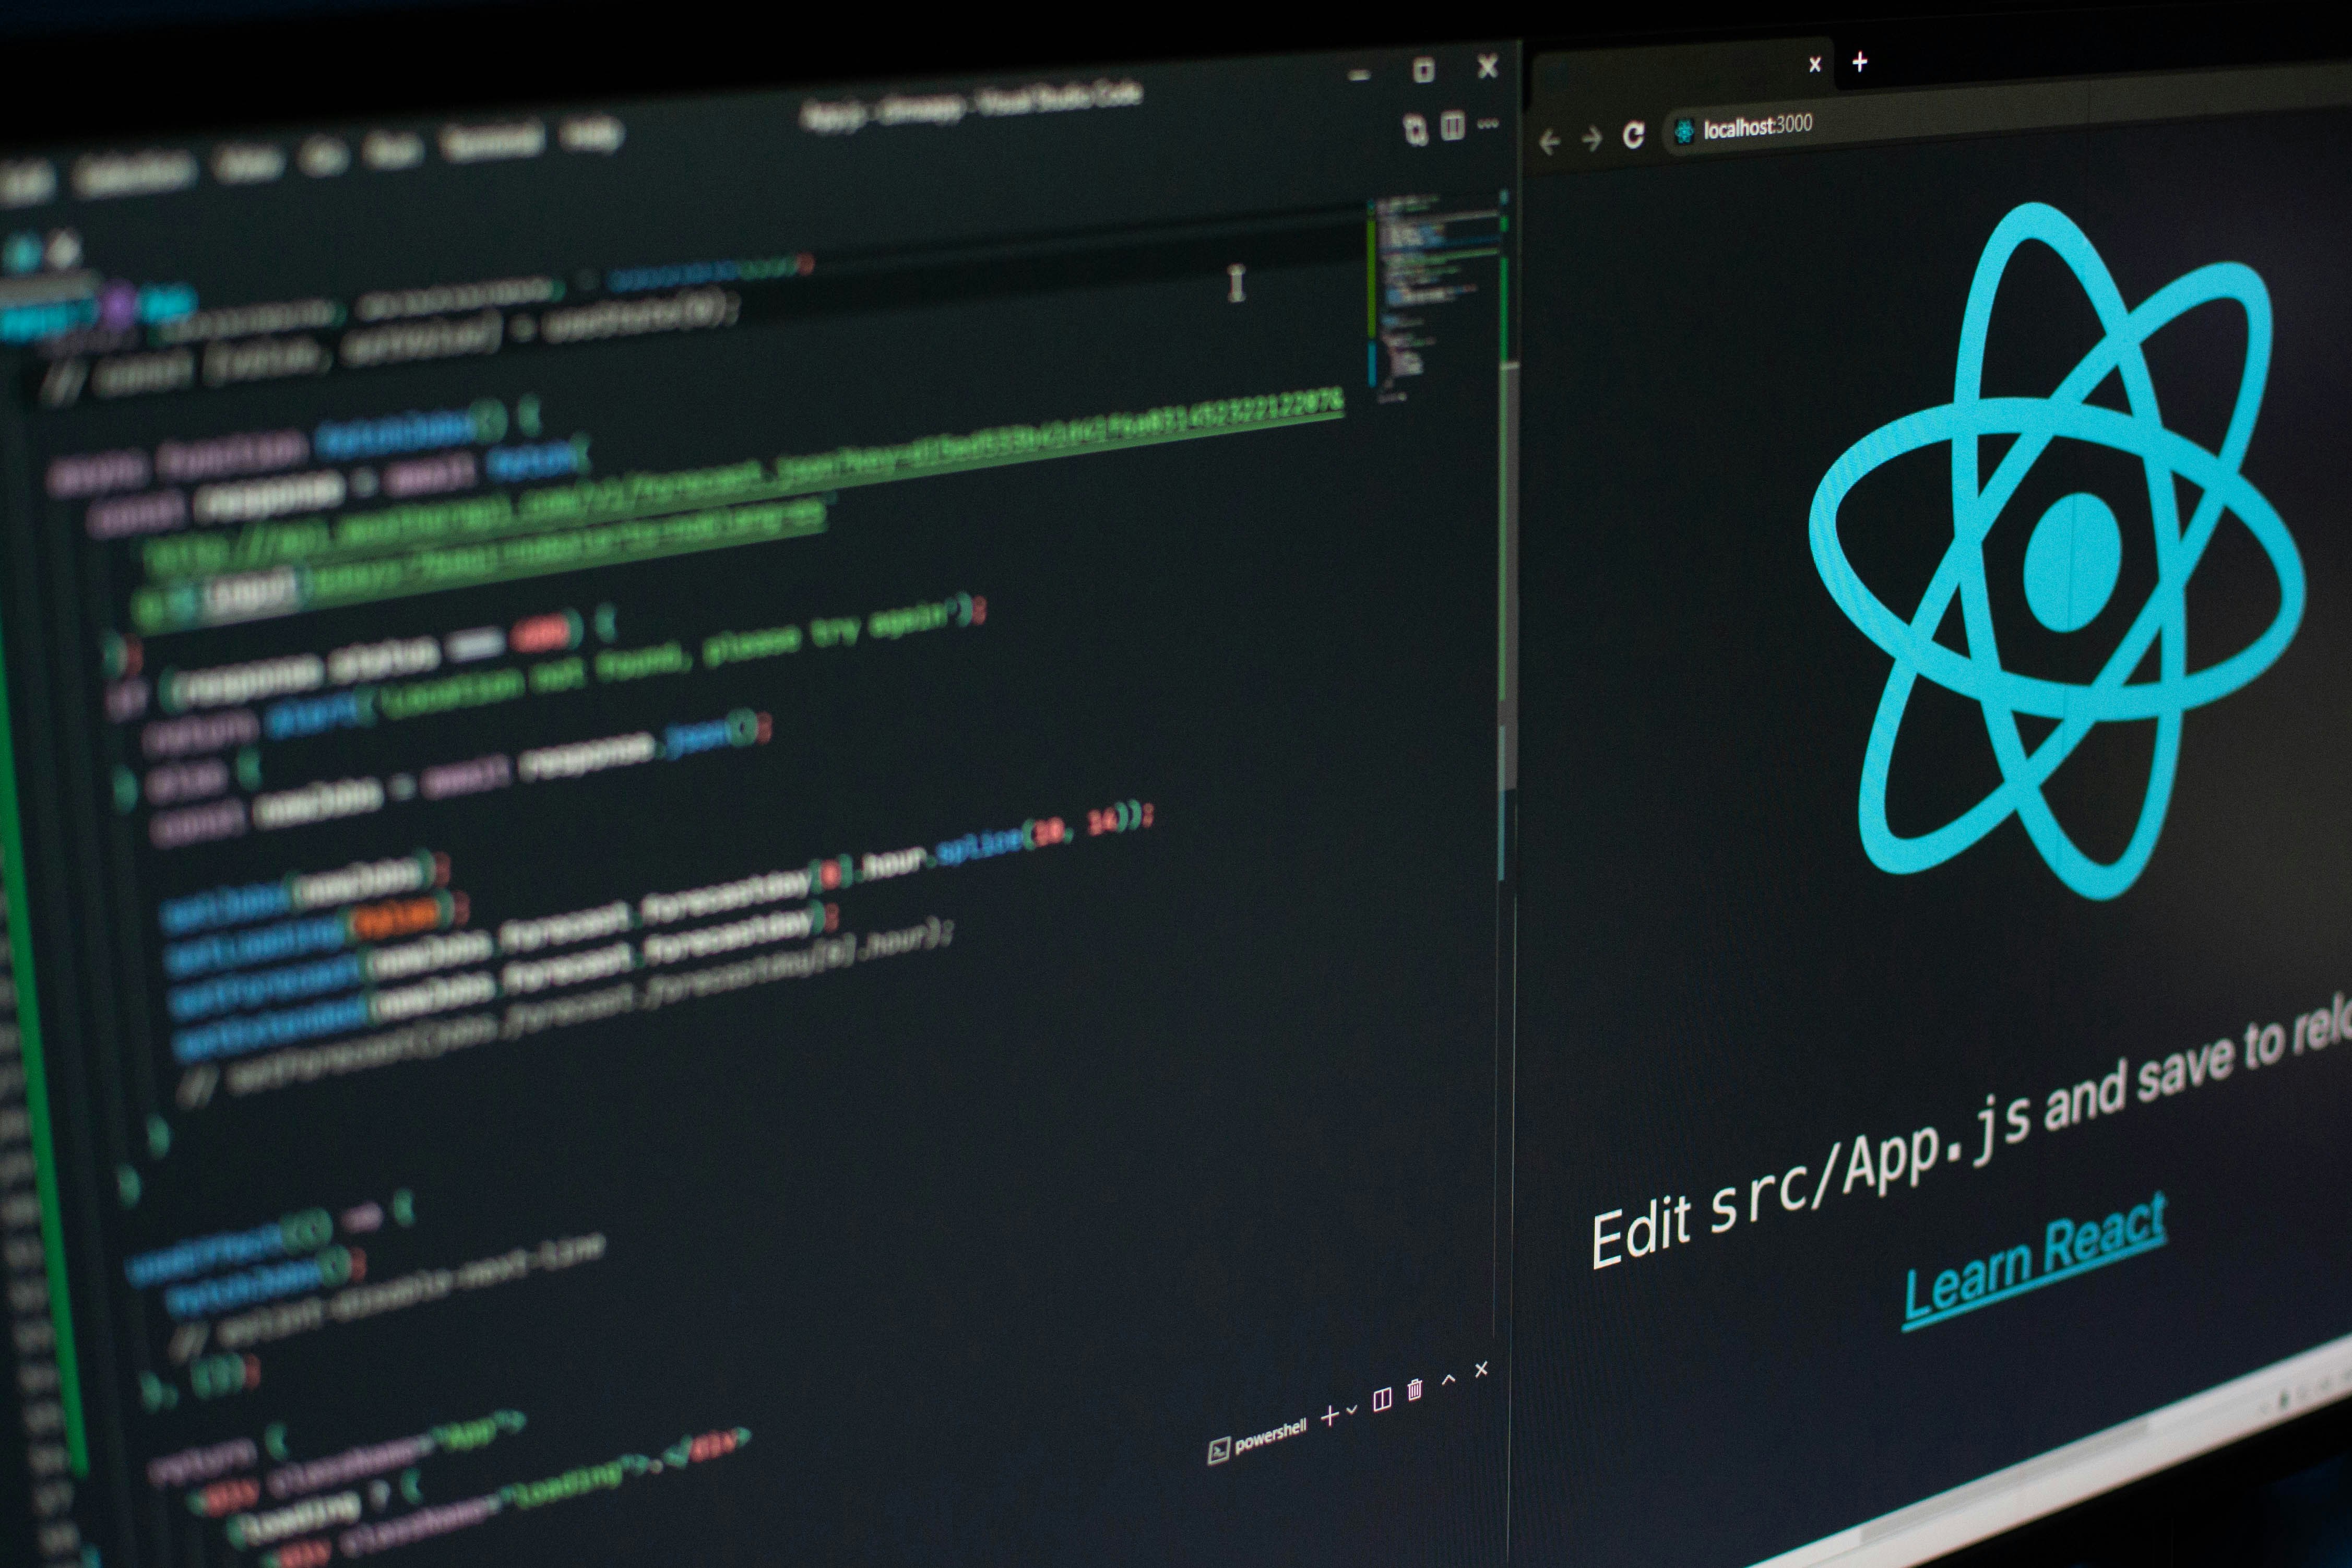
Frontend
For the frontend, React was the obvious choice.
The assignment already allowed React or something close to it, and since I already knew React, this was not the moment to get adventurous for the sake of it.
I used Vite instead of Create React App. Mostly because it is faster, cleaner, and easier to get moving with. At this point CRA just feels like extra friction unless there is a specific reason to use it.
The main app was straightforward. I used useState to keep local values in memory and useEffect to fetch data when the app loads or after creating a new item. Nothing especially clever there. Just the normal shape of a small React app that needs to stay in sync with a backend.
Then I added a NewItemForm component for the POST flow.
This part of the project was probably the most comfortable because it was the part where I had the clearest idea of what I was doing and what “done” looked like.
External API
This was where I lost the most time.
I wanted the API part to feel relevant, so instead of picking the easiest possible example, I tried to use air quality data. The idea was that a user could enter a location and look up nearby air quality sensors.
That was more ambitious than I had room for.
What slowed me down was not even the coding itself. It was that I tried to get away with not reading the API docs properly at first, which is one of those decisions that always feels like it will save time and then almost never does.
I ran into deprecated routes, missing fields, and the general mess that comes from integrating with someone else’s system when you do not fully understand its current state. In the end I got it working, but not in the way I originally wanted. I hardcoded the coordinates of a specific air station and displayed the sensors available there instead of building a proper location search with richer measurements.
So yes, it met the assignment requirement. But this was also the part that made it obvious where the rushed edges of the project were.
On the backend I created an airquality.js route to proxy requests to the OpenAQ v3 API, and on the frontend I built an AirQualityWidget component that fetched from my own backend instead of hitting the external API directly.
That part of the structure I still feel good about, even if the final feature was more limited than I wanted.
Deployment
Once everything worked locally, I wanted the app online.
Partly because it was one of the project requirements, and partly because I think a full stack app does not really feel done until you have dealt with the annoying deployment part too.
I already had experience using Vercel, so I deployed the frontend there. For the backend, I looked at Render, Railway, and Fly.io. Render won mostly because it looked like the fastest path to getting the server online without fighting the platform too much.
That turned out to be the right call. Both Vercel and Render were easy to set up, including environment variables.
The one small problem I hit was CORS. Locally the app worked fine, but once the frontend was on Vercel and the backend was on Render, the requests were blocked until I explicitly allowed both localhost:5173 and the deployed frontend domain.
Not a dramatic problem, but exactly the kind of thing that reminds you that “works on my machine” is still one of the oldest traps in software.
Testing
At the end, I added a small backend test suite with Jest and Supertest.
The tests covered the healthcheck plus the GET and POST endpoints. It was not a huge test setup, but it was enough to show the basic shape of automated checks for the server and to make the project feel a bit less improvised.
What I would do differently
The main thing I would change next time is simple: I would read the API documentation properly from the start.
That sounds obvious, but this project was a very good reminder that trying to “figure it out as I go” is only efficient when the thing is actually simple. External APIs are often not simple. They just look simple right until they waste half your afternoon.
I would also spend more time on frontend reuse and loading states.
The app worked, but there were definitely places where the UI could have felt more considered. Better loading and error states would have helped. So would a little more time thinking about component reuse instead of just getting each piece over the line.
And visually, I would do more too. The assignment did not require much design work, so I kept it simple, but there is a point where “simple” becomes “I clearly ran out of time here.”
Closing thoughts
What I take from this project is not that I built some amazing app. I did not.
What I take from it is that I got through the whole shape of a full stack project under pressure: server, database, API integration, frontend, deployment, tests, documentation, all of it. And that mattered to me.
It also showed me pretty clearly where I still lose time. Usually not on the basics, but on the parts where I get a little too optimistic, skip a step, and then pay for it later.
That is useful to know.
So no, the app was not perfect. But it did what it needed to do, and it gave me a much clearer sense of what I would tighten up next time.