Designing My First PC: Structure, Choices, and Longevity
A detailed look at how I approached my first full PC build: setting goals, balancing trade-offs, and making the most of a tight budget to create a machine that feels truly mine.
Published on September 1, 2025
My First PC Build
So recently the stars aligned and I was finally able to build my own PC. This is a project I have been dreaming of for well over a decade, so to say I was incredibly happy to be doing so is quite the understatement.
I’ve been tinkering with computers since I was about ten years old, and during the following decades I’ve been mostly doing gradual improvements on the equipment I had: hogging Hard Disk Drives from broken computers to expand the storage in the one I was using, expanding RAM sticks on laptops to improve performance, etc. I’ve even swapped out the old 2.5 HDD on a Playstation 4 and substituted it for an SSD to improve performance (while reapplying thermal paste to the processor while I was at it).
I actually had to fix the power unit from that PS4 too to get it to be able to run again, but that’s another story. Suffice to say, I’ve always been a tinkerer, but I’ve never had the privilege of building a PC from scratch. So even before starting to think about what parts to buy I had a few clear goals:
First: I wanted the budget to be around €1000. This at some points became like a pipe dream after acquiring knowledge about the current GPU market, but I was able to make the most of it as you will see later on.
Second: I wanted the build to be able to do as much as possible, meaning I was willing to take a few hits in the gaming price/performance, for example, if that meant that I would be able to use more professional applications.
Third: I wanted the build to have as much longevity as possible. This meant building on a stable platform where I could keep the PC current with as few improvements as possible. To keep this goal in check I used a cost per month metric.
CPU & Motherboard
With these things in mind the first big decision is the CPU: AMD or Intel. This will also determine the Motherboard. Looking up the current state of the market it seemed like an easy choice. Intel appears to have had a lot of issues in their latest models and AMD is killing it both in price/performance and in the high end gaming range, with their X3D models. Next up, the platform: AM4 or AM5. AM4 is as of now a little bit more affordable, but barely, and it would severely compromise longevity. Since I want this build to last as long as possible, it was worth it to invest a little bit more in a more modern platform to gain in longevity. AM5 also uses DDR5 RAM, which is faster than the previous DDR4 generation. To keep in mind, AMD has said that it is planning to phase out AM5 in 2027-8 and will start using AM6 from then on.
As for specific models, the first CPU I found was the Ryzen 7 7600 for €175. Very decent performance, last gen but the increases for current gen don’t really justify the higher price and the CPU is more than enough for almost all everyday tasks. Maybe after a few years the 6 cores would’ve been a little bit lackluster, but the beauty of having the AM5 platform is that I can always swap it out later on. In any case, I then found the 7500F for €141 which at the time I thought was a bargain. I could save about €35 that I could spend somewhere with barely any loss (the differences between the 7500F and the 7600 are very small.) But then I found a deal on AliExpress that I couldn’t pass up: the 7700 with 8 cores,16 threads, for €154. In any other place this CPU rarely gets below €290, not because it’s exceptional value, but because AMD doesn’t want to eat into their own sales for CPUs with fewer cores. Still, great pricing for a CPU with 2 extra cores, which will give it a lot more longevity a few years on. Worth the €14 price increase from the 7500F, and a no-brainer next to the 7600. Very happy with this buy.
Motherboard
Next up, the Motherboard. Once the CPU was settled it was a matter of determining what motherboard was good enough. Online consensus is, unless specific needs, a B650 system is more than enough. Found the Gigabyte B650 Eagle AX for €140. Good price/performance. No luxuries, does the job. Maybe looking a bit harder I could’ve caught a better board for the price, but all in all a perfectly good buy.
RAM
As for the RAM, the AMD sweet spot seems to be 6000Mhz, 2x16Gb, 30CL, so I just bought what RAM was cheapest with these conditions. Saw a deal for €90 from TeamGroup T-Create, a reputable brand so insta-win. No margin for improvement here, at least not with sacrificing performance.
Storage
Next up was storage. I’m not a digital hoarder, and have a few external SSDs lying around, so I thought 1Tb would be sufficient for me. I’m actually surprised how fast storage can fill up when you install big applications and while 1Tb is still enough for my needs, between that and dual booting Ubuntu, I have to say I was overconfident in how much space I would be having left over. Anyways, current PC lore says NVMe is a must, but getting the right one for your needs is trickier than one could think at first glance. TLC, DRAM, flops and stuff. Testing and reviews talk about having a fast read rate is enough for most users, but having a snappy PC is something I value dearly, so I went for the Crucial T500 1TB, PCIe4. For €82.90 it was a fair deal. Not amazing value but a fair price for an excellent SSD. [Explain benefits].
GPU
Now, as for the GPU. My first hunch was that a €300 would be enough for a GPU. Man was I in for a ride. There seems to be an intense debate going on online on if 8 GBs of VRAM are enough for gaming. It appears that, for now, and at 1080p, it is. But some newer games are already maxing this out, and performance tanks when they do. 12GB seems to be a safer bet, and 16GB seems to be the better choice.
- My first search pointed at the AMD Radeon RX 7600. It definitely complied with the VRAM requirements, but online reviews gave the pure raster for the current state of art a pretty poor value. While great pricing at approximately €250, it would severely compromise the longevity of the build.
- Next alternative: the Intel Arc B580. This seems to be best value at its price point, and with sufficient VRAM for now (12GB), but apparently it had some overhead problems with some CPUs. At the time I still was looking at the Ryzen 7 7600 CPU, so I discarded this option because of the potential headaches.
- Then I looked at the 9060 XT, and in terms of price/performance it was a clear winner, but at around €400, it was a lot more money than I had anticipated it would cost, so at first I was hesitant.
After thoroughly investigating the state of the market, it was clear that spending anything less than that would severely compromise my build in some way be it because of VRAM, CPU bottlenecking, or lacking raster performance. It was a tough pill to swallow, but I accepted that I had to reallocate some of my budget to make it work. The 9060 XT for just gaming is a slam dunk, but I also wanted it to be used for professional applications. Apparently AMD GPUs aren’t as good for that, because they don’t have CUDA and some other stuff, but Nvidia GPUs come at a premium and while I wanted the versatility, I wasn’t willing to splurge for it. I found the 9060 XT at €389 and since its Nvidia equivalent, the 5060 Ti, was out of the price range, I was willing to compromise in that. However, at the last moment I was able to find the 5060 Ti 16GB for €434.22, at a €45 price increase. Not a blockbuster deal, but enough to justify the upgrade. An investment in my professional future, I told myself. Heh.
Case
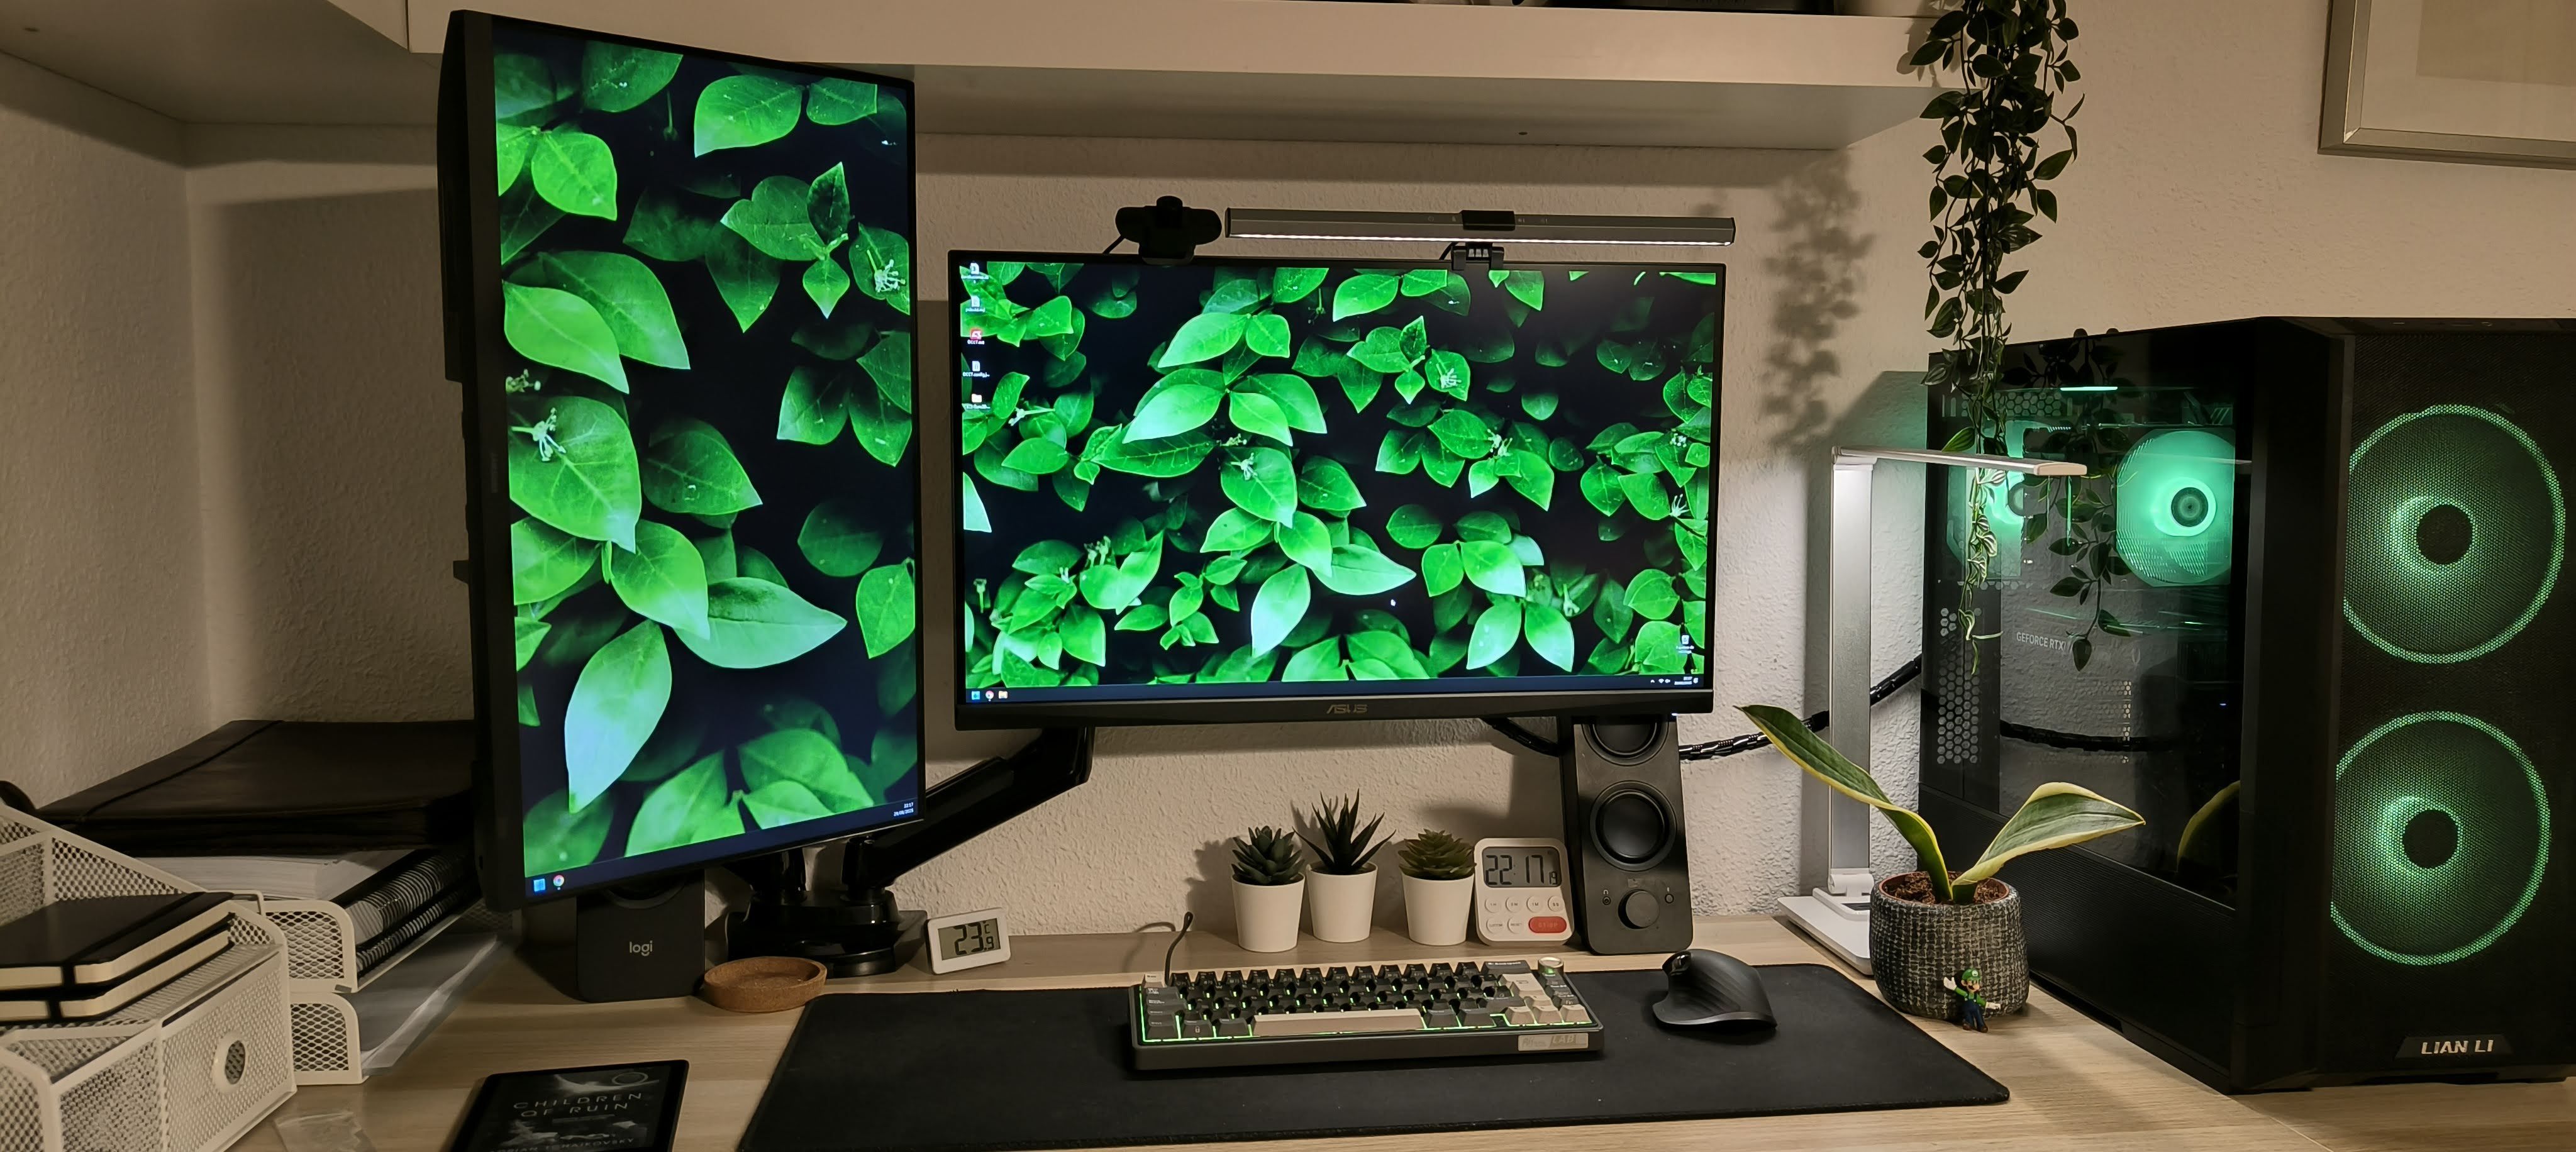
Next up, the case. This was actually fairly simple, because at the time I didn’t really prioritize style and personal expression as much as ease of building and airflow. I ended up buying the Lian Li Lancool 216, because it is very easy to disassemble, and has great airflow. For the price, it also comes with 2 160mm front fans and one rear 140mm exhaust fan, which would otherwise have been a separate part of the budget. An alternative was the 207, which is also reported to have excellent airflow, and is a bit smaller, but the quirk of having the PSU front mounted and the smaller case made me veer off of it in case the building got too tricky. Now that I’ve built it though, it would maybe have been better to not have a huge case sitting next to my screens, but oh well. It’s not like it’s a sore sight. At €85.90, a good price/value pick.
PSU
Finally, the PSU. PSU picking can get very technical very fast, so there are tier lists out there that make picking one easy for you. I initially went with the Corsair RM850e, but had to return it due to insane coil whine, a high pitched electrical noise. I actually went to this one over the MSI MAG A750GL precisely because the latter was reported to be noisier. Definitely not in this case. So the MSI MAG A750GL was my second pick. After thinking about longevity, if in the future I wanted to put a beefier GPU in, 750W might not have been enough, so I wanted to swap it out for the 850W version. I bought the MSI MAG A750GL third party through Amazon, and since returning it was a hassle, Amazon customer support just refunded me the money. It’s not the PSU I wanted, but it seemed unwise to spend again on a PSU because of the possibility that it might be needed in the future. Technically you can use up to an NVIDIA RTX 5080 GPU on 750W, especially if you undervolt the CPU and GPU (make them more efficient, essentially), but the little headroom doesn’t seem optimal to me. In any case, I could go on and on about the decisions for this build, but I don’t want this post to get too long.
Longevity
Before I summarize the parts and total of the build, I wanted to make a point about the longevity: With this build, It is very possible to make this PC last for about 10 years. The only two parts that will really need updating are the GPU and CPU. GPU demands rise fast, and in 3-5 years, especially considering that my goal is to be able to handle 4K, a new GPU will be necessary. Ideally I’d like to spring for an 80 tier Nvidia GPU, if available and pricing not exorbitant. As I’ve said, this may require a new PSU but we’ll evaluate when we get there, because we can’t know wattage demands of future GPUs. On the other hand, when the last batch of AM5 processors come out, I will buy the top CPU available. Not necessarily because it will improve performance significantly to its predecessors (we can’t know yet), but because it will be the last true bottleneck and upping it will significantly increase the longevity of the build. Trying to get an AM6 CPU would require a new motherboard and most likely DDR6 RAM, and at that point you’re just building a new PC.
Final Build Summary
- CPU: AMD Ryzen 7 7700 – €154.23
- CPU Cooler: Thermalright Peerless Assassin 120 SE ARGB – €37.90
- Motherboard: Gigabyte B650 EAGLE AX ATX AM5 – €139.95
- Memory: TEAMGROUP T-Create Expert 32 GB DDR5-6000 CL30 – €89.99
- Storage: Crucial T500 1TB PCIe 4.0 NVMe SSD – €82.90
- GPU: ZOTAC NVIDIA GeForce RTX 5060 Ti 16GB – €434.22
- Case: Lian Li LANCOOL 216 RGB ATX Mid Tower – €85.90
- Power Supply: MSI MAG A750GL PCIE5 II 750 W 80+ Gold Modular – €0.00
Total: €1,025.09
Closing Thoughts
I went a little over budget, but thanks to the free PSU, I don’t think I would’ve been able to beat this setup for the price, unless going second hand with some parts.
Building this PC wasn’t just about performance or saving money, it was about finally getting to design and assemble something of my own after years of tinkering with scraps and upgrades. For me, it represents independence, curiosity, and a little bit of stubbornness in making the most of my budget, as well as truly a dream come true.
I’m sure I’ll keep tweaking, undervolting, and maybe swapping parts down the line (that’s just who I am), but right now I finally have a machine that feels like mine, thought out from top to bottom.
If you’re reading this because you’re planning your own build, I hope walking through my decisions gives you some ideas, or at least shows that the process doesn’t have to be perfect to be satisfying. And if nothing else, it’s proof that after more than a decade of waiting, you can finally make that dream build happen.